This article contains affiliate links. If you purchase through these links, we may earn a commission at no extra cost to you. See our full disclosure policy.
Your experienced cleaners already know how to clean a house. The checklist isn’t for them — not really. It’s for the morning when they’re tired and skip the stovetop drip pans. It’s for the new hire who doesn’t realize your clients expect beds made with hospital corners. It’s for the go-back that costs you an hour of unbilled labor and a client who now questions whether you’re worth $150 per visit.
A house cleaning checklist is a consistency tool, not a training manual. It ensures the same 45-55 tasks get completed in the same order at every home, regardless of which team member shows up. Below is the room-by-room cleaning checklist template we’ve built from reviewing processes used by maid services running 5-20 crews. Time targets are included — because a checklist without time accountability is just a wish list.
Total standard clean target: 50-65 minutes for a 3-bedroom, 2-bathroom home. Adjust proportionally for larger properties.
Kitchen Checklist (15-20 Minutes)
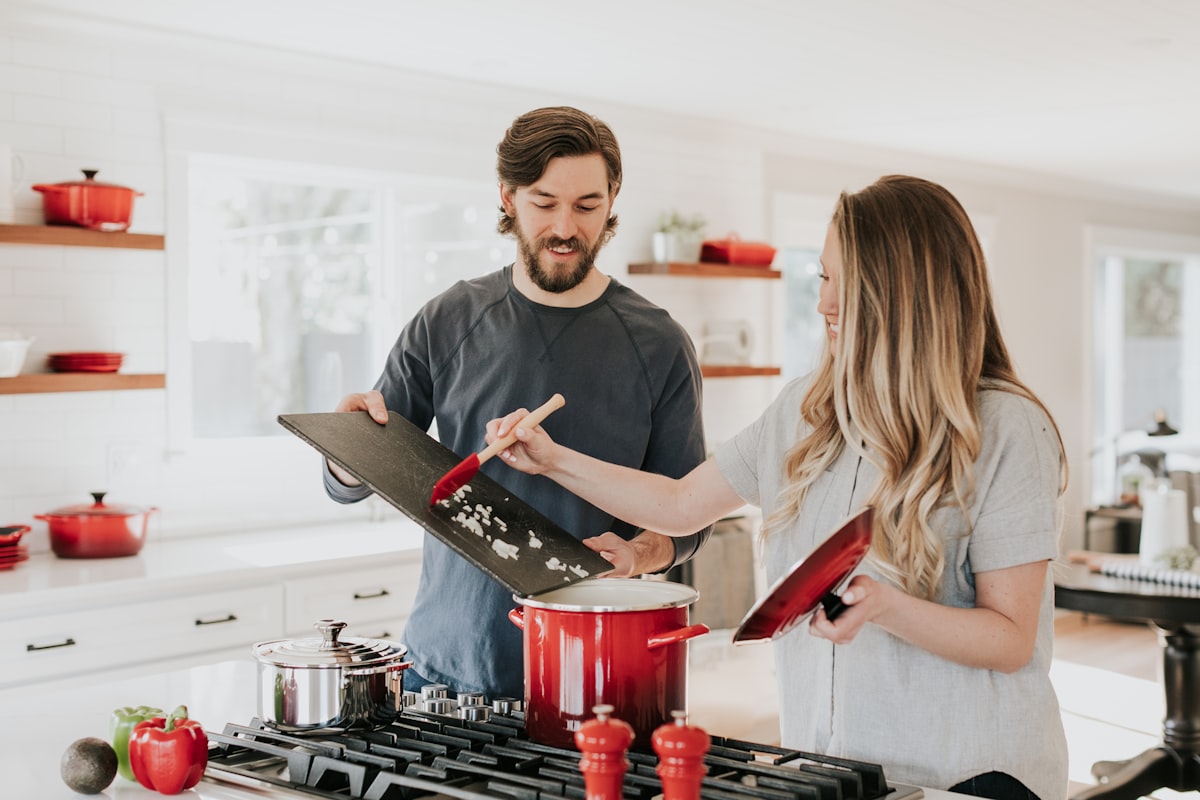
The kitchen takes the longest because it has the most surfaces that show neglect. Work top to bottom, left to right around the room.
- Clear and wipe all countertops — move items, clean underneath, replace
- Clean stovetop surface, drip pans, and control knobs
- Wipe down range hood and vent filter exterior
- Scrub sink basin and polish faucet (remove water spots)
- Wipe exterior of all appliances — fridge, dishwasher, microwave, oven door
- Clean microwave interior (standard clean: only if visibly soiled)
- Wipe cabinet fronts at handle height (grease buildup zone)
- Wipe down countertop appliances — coffee maker, toaster, stand mixer
- Empty trash, replace liner, wipe rim
- Sweep and mop floor, including under table and along baseboards
- Spot-check backsplash for splatter
Common miss: The side of the fridge that faces the counter. Clients notice grease buildup there before anywhere else.
Time saver: Pre-spray the stovetop and sink when you first enter the kitchen. By the time you work your way back, the product has done half the job. Per MaidPro’s 49-point checklist system, dwell time on kitchen degreasers should be 3-5 minutes for effective cleaning without heavy scrubbing.
Bathroom Checklist (10-15 Minutes)
Bathrooms are where go-backs happen most. The difference between a bathroom that looks clean and one that is clean comes down to whether your team addressed the toilet base, the shower door track, and the mirror edges.
- Apply disinfectant to toilet (bowl, seat, base, behind hinges) — let dwell
- Spray shower/tub surfaces and glass doors
- Clean mirror and any glass surfaces (streak-free, check edges)
- Wipe countertop, sink basin, faucet, and soap dispensers
- Return to toilet — scrub bowl, wipe all exterior surfaces including base
- Clean shower/tub — walls, fixtures, drain area, door tracks
- Wipe towel bars, toilet paper holder, and cabinet fronts
- Restock toilet paper if low (carry extra rolls)
- Sweep and mop floor, including behind toilet and under vanity
- Empty trash, replace liner
Common miss: The toilet base where it meets the floor. If your cleaners aren’t getting on their knees for this, clients will find dried drips. This single spot generates more complaints than any other area in a standard clean.
Industry standard: According to Housecall Pro’s professional cleaning guide, hospital-grade disinfectants need 5-10 minutes of dwell time to effectively kill bacteria. Train your team to spray the toilet first, clean everything else, then come back to wipe it down.
Bedroom Checklist (10 Minutes)
Bedrooms are straightforward but easy to rush. Most complaints here come from visible dust on nightstands and inconsistent bed-making.
- Dust all surfaces — nightstands, dresser tops, shelves, window sills
- Dust ceiling fan blades and light fixtures (use a microfiber duster, not a feather duster)
- Make bed if requested — smooth sheets, tucked corners, pillows arranged per client preference
- Dust and wipe mirror and any glass picture frames
- Spot-check baseboards (wipe visible dust or marks)
- Vacuum entire floor including under bed edges and corners
- Vacuum or mop hard floors if applicable
- Empty trash
Note on bed-making: Some clients want it, some don’t. This should be flagged in the client profile, not left to the cleaner’s judgment. If your software supports client-specific notes — ZenMaid{rel=“nofollow sponsored”} does this through custom checklists per client — use them. If you’re on paper, put it on the client’s instruction card.
For more on building microfiber systems that actually work for dust control, see our equipment guide. The right cloth makes a measurable difference in how long dust stays off surfaces between cleans.
Living Areas Checklist (10-15 Minutes)
Living rooms, dining rooms, dens, and hallways. These spaces vary the most between homes, so your checklist needs flex items alongside non-negotiables.
Every living area:
- Dust all flat surfaces — coffee table, end tables, shelves, entertainment center
- Dust lamp shades and bases
- Wipe glass surfaces — tabletops, TV screen (dry microfiber only), picture frames
- Spot-clean upholstery and throw pillows (remove visible debris, lint roll if needed)
- Vacuum all flooring — carpet, rugs, hard floors
- Vacuum couch cushion crevices
- Straighten throw blankets, pillows, remotes
- Empty trash
Dining areas (add):
- Wipe table and chairs, including seat surfaces and legs
- Clean light fixture over table (dust or wipe)
Hallways (add):
- Dust any wall art, mirrors, or console tables
- Vacuum or mop, paying attention to high-traffic marks
Common miss: The top of the TV. A thin dust layer sits up there for weeks. It takes three seconds to swipe — but if it’s not on the checklist, it won’t happen consistently.
Final Walkthrough (5 Minutes)
This is the step that separates amateur operations from professional ones. A 5-minute walkthrough before leaving the property prevents callbacks, protects against liability, and builds a documentation trail.
- Walk every room — check for missed tasks, cleaning product residue, streaks
- Verify all lights are off (unless client prefers otherwise)
- Confirm doors are locked (note any that were already unlocked on arrival)
- Check that nothing was left behind — supplies, rags, personal items
- Take 2-3 photos of key areas (kitchen, main bathroom, living room)
- Log completion time in your scheduling app
Why photos matter: Photo documentation does two things. First, it resolves “you didn’t clean X” disputes instantly — if the photo shows a clean stovetop, the conversation is over. Second, it creates accountability within your team without requiring you to do ride-alongs. According to Method’s cleaning management research, businesses that implement photo documentation see a measurable reduction in client complaints.
If your team resists photo documentation at first, remind them: photos protect the cleaner as much as the business. When a client claims something was broken or not cleaned, the photo is the cleaner’s proof.
Standard Clean vs. Deep Clean — What Changes
The checklist above covers a standard (maintenance) clean. For deep cleans, the room-by-room structure stays the same — you just add tasks and extend time targets. Here’s what changes:
| Room | Standard Clean Tasks | Deep Clean Additions | Time Change |
|---|---|---|---|
| Kitchen | Surfaces, stovetop, sink, appliance fronts, floor | Inside oven, inside fridge, inside microwave, behind appliances, degrease range hood filter, cabinet interiors | +25-35 min |
| Bathroom | Toilet, shower/tub, mirror, counter, floor | Scrub grout, descale shower head, clean inside cabinets, wash shower curtain, deep clean exhaust fan | +15-20 min |
| Bedroom | Dust, bed, vacuum, baseboards spot-check | Full baseboard wipe, clean under furniture (move items), dust blinds slat-by-slat, wipe inside closet shelves | +15-20 min |
| Living Areas | Dust, vacuum, spot-clean, glass | Move furniture to vacuum underneath, clean window tracks, dust all blinds, wipe all baseboards, clean vents/registers | +15-20 min |
| Overall | 50-65 min total | 120-180 min total | 2-3x duration |
Pricing note: A deep clean typically runs 2-3x the standard clean rate. If your standard clean is $150, the deep clean is $300-$450. For the full breakdown, see our residential cleaning price index.
Train your team to understand the difference clearly. The most common pricing mistake maid services make is quoting a “deep clean” and then sending a team that executes a standard clean checklist — or the reverse, where a standard clean turns into an unrequested deep clean that blows the schedule.
How to Build Checklists Into Your Software
Paper checklists work. They’ve worked for decades. But once you have more than one team running jobs simultaneously, paper creates two problems: you can’t verify completion in real time, and you lose the data trail.
Here’s how the three most common cleaning business platforms handle checklists:
ZenMaid: Custom Digital Checklists
ZenMaid recently launched digital checklists as one of their most-requested features, with 364 users voting for it. You can create custom checklists by service type — standard, deep clean, move-out — and assign them to appointments. Cleaners see the checklist inside the appointment on their mobile app and check items off as they complete them.
The standout feature for maid services: client-specific checklist customization. If Mrs. Johnson wants her bed made with throw pillows arranged a certain way, you add that to her profile. It shows up on every visit. No relying on memory, no verbal instructions that get lost.
Try ZenMaid Free for 14 Days{rel=“nofollow sponsored”}
Jobber: Job Forms
Jobber handles checklists through their job forms feature. You can build custom forms with checkboxes, dropdowns, and text fields, then attach them to recurring jobs. Your team accesses them on mobile during the appointment. Completed forms can be downloaded or emailed directly to clients as proof of completion.
Jobber allows up to 100 job forms, which is more than enough for most cleaning operations. The advantage over ZenMaid: Jobber works for multi-trade businesses, so if you also do carpet cleaning or post-construction cleans, all your checklists live in one platform.
Start Your Free Jobber Trial{rel=“nofollow sponsored”}
Connecteam: Task Lists for Larger Teams
If you’re running 10+ cleaners, Connecteam offers task management alongside time tracking, team chat, and custom training modules. You can build task checklists, assign them to specific shifts, and track completion across your entire workforce from a single dashboard.
Connecteam isn’t a scheduling or client management tool — it’s a team management layer. Most cleaning businesses pair it with ZenMaid or Jobber for client-facing operations and use Connecteam for internal crew management.
Try Connecteam Free{rel=“nofollow sponsored”}
For a full comparison of these platforms, see our best cleaning business software guide.
Making the Checklist Stick
A checklist that lives in a binder and never gets referenced is decoration. Here’s how to make it part of your team’s muscle memory:
-
Train with the checklist in hand. During new hire training, every room gets cleaned while physically holding the checklist. Not “we’ll go over the checklist later” — they clean with it from day one. For a full training system walkthrough, see our training guide.
-
Audit with the checklist. When you do quality checks — and you should be auditing at least 10% of jobs monthly — use the same checklist as your scoring rubric. If the checklist says “scrub sink basin and polish faucet,” you’re checking for a polished faucet, not just a clean-looking sink.
-
Update it quarterly. Client expectations shift. Products change. The task that was fine 18 months ago might need rewording, reordering, or removing. A checklist that never changes eventually stops reflecting reality.
-
Let your team contribute. Your cleaners know things you don’t. They know that the client on Thursday has a glass-top stove that needs a specific product. They know that the bathroom on Elm Street has a drain cover that collects hair. Build a feedback loop — even if it’s just a monthly “what should we add or change?” conversation.
Want a printable version? Download our free House Cleaning Checklist PDF — formatted for lamination, with space for client-specific notes and time tracking per room. Print one per team, slide it into a sheet protector, and use dry-erase markers for daily use.
verified Editor's Tip
Bookmark this guide and revisit it as your business grows — different sections become relevant at different stages.
Quick-Reference Overview
| Metric | Industry Average | Top Performers |
|---|---|---|
| Client Retention | 60-70% | 85%+ |
| Profit Margin | 10-15% | 25-35% |
| Employee Turnover | 200%+/yr | <75%/yr |

Top Cleaning Software
Explore our curated reviews of the best software tools for cleaning businesses.
View Full Review arrow_forwardGet More Guides Like This
Join cleaning professionals who read our weekly industry insights.
No spam. Only high-authority cleaning industry data.
Enjoyed This Guide?
Join cleaning professionals who read our weekly industry insights.


